Can a Single Phase Motor Be Reversed? Your Complete Guide to Changing Its Spin
Have you ever hooked up a motor for a project, flipped the switch, and watched it spin the wrong way? It’s a common problem. Maybe your new workshop fan is pushing air out instead of pulling it in. Or perhaps a machine you built needs to run in the opposite direction. It’s frustrating and can stop your project dead in its tracks. The big question is, can you fix it?
Good news! In most cases, the answer is a big YES. You absolutely can reverse the direction of a single-phase motor. You just need to know which type of motor you have and the right way to do it safely. This guide is here to walk you through it, step by step, in simple language. We’ll show you how to avoid damaging your motor or getting a nasty shock. Let’s get that motor spinning the right way!
Table of Contents
- Why Do Motors Spin a Certain Way?
- Can All Single Phase Motors Be Reversed?
- How Do I Know What Kind of Motor I Have?
- What’s the Secret to Reversing Most Motors?
- Your Step-by-Step Guide to Safely Reverse a Motor
- Can I Use a Switch to Reverse My Motor?
- What Are the Dangers I Should Know About?
- When Is It Time to Call a Professional?
- Quick Summary: What to Remember
Why Do Motors Spin a Certain Way?
You might think a motor just gets power and starts spinning. But it’s a little more clever than that. A single-phase AC motor, the kind you find in many home appliances and tools, has a tricky problem. By itself, the power from your wall outlet doesn’t tell the motor which way to turn. It just kind of hums and sits there.
To solve this, engineers added a second set of wires inside the motor. This is called the starting winding or auxiliary winding. The main set is called the running winding. Think of it like trying to push a merry-go-round. If you just push straight at the center, it won’t spin. But if you and a friend push on opposite sides at a slight angle, you can get it going.
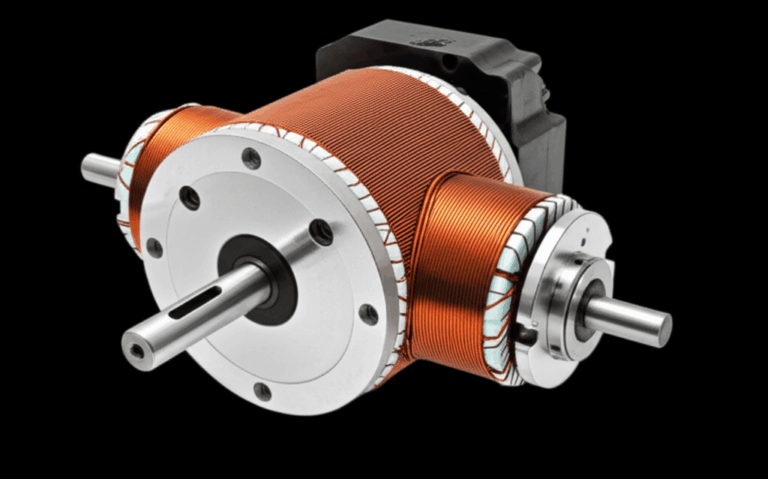
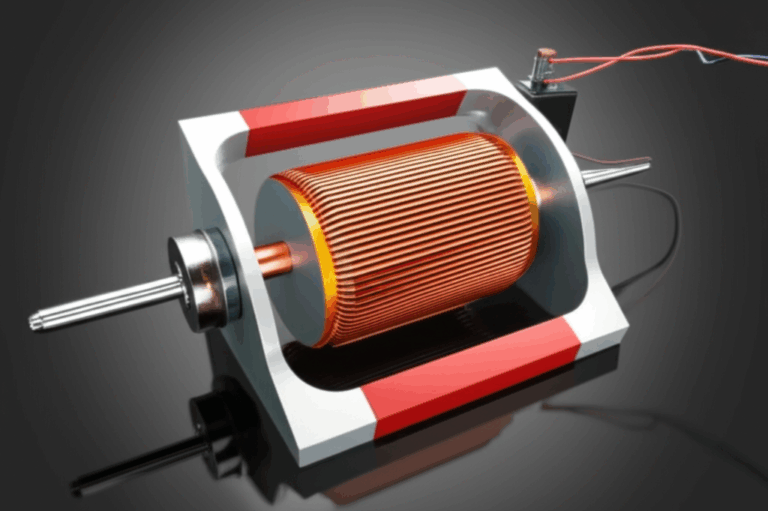
The starting winding gives the motor that first “push” to tell it which direction to go. It creates a second magnetic field that is out of sync with the main one. This difference is called a phase difference, and it’s what creates the turning force, or torque, that makes the motor spin. The core of the motor, made of parts like the stator and rotor, responds to these magnetic fields. The quality of the metal pieces inside, like the motor core laminations, helps make these magnetic fields strong and efficient.
Can All Single Phase Motors Be Reversed?
This is the most important question. And the answer is: no, not all of them. But the good news is that most of the common types can be reversed. It all depends on how the motor was built.
Some motors are made to be cheap and simple for one-way jobs, like a small bathroom fan. Trying to reverse these is nearly impossible without taking the whole thing apart. But other motors, like those used in power tools, pumps, and larger machines, are often designed to be reversible.
Let’s look at the different types you might run into. The table below gives you a quick idea of what to expect.
Table: Can My Single-Phase Motor Be Reversed?
| Motor Type | Can It Be Reversed? | How Hard Is It? | Found In… |
|---|---|---|---|
| Capacitor-Start Motor | Yes | Medium | Air compressors, large fans, pumps |
| PSC Motor | Yes | Medium | HVAC fans, blowers, appliances |
| Universal Motor | Yes | Easy | Power drills, saws, blenders |
| Shaded Pole Motor | No (Not easily) | Very Hard | Small fans, toys, aquarium pumps |
As you can see, if you have a Capacitor-Start, PSC, or Universal motor, you’re in luck! If you have a Shaded Pole motor, it’s usually better to just buy a new motor that spins the way you need.
How Do I Know What Kind of Motor I Have?
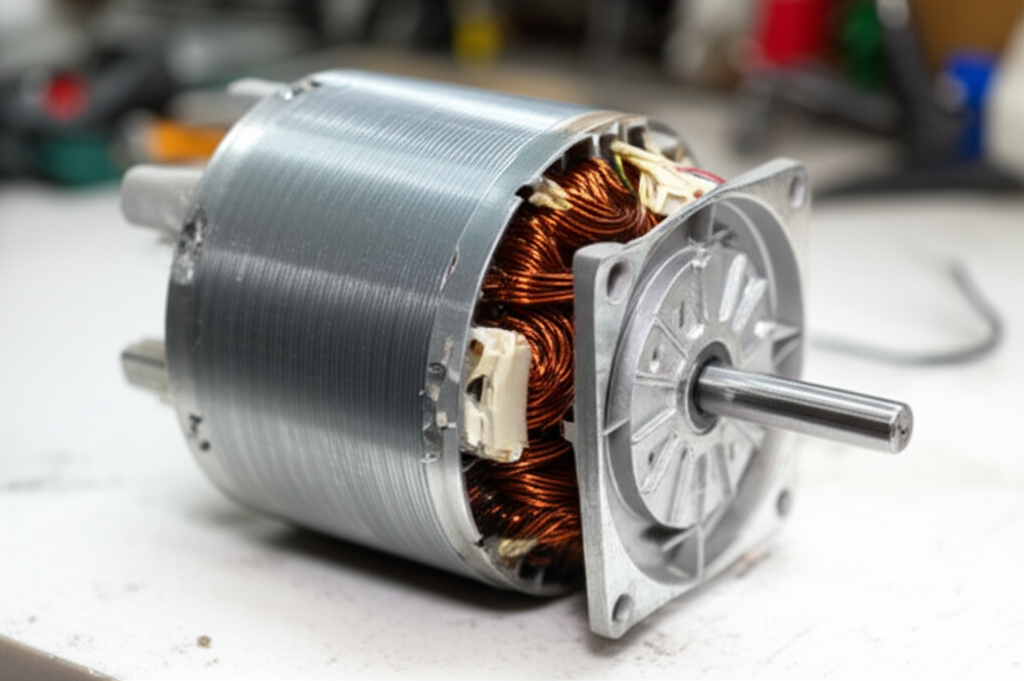
Before you touch a single wire, you need to be a detective. You have to figure out what kind of motor you’re dealing with. The best place to find this information is on the motor data plate. This is a small metal tag or sticker on the side of the motor frame.
Look for a wiring diagram. This little map is your best friend. It will often show you exactly how to wire the motor for “CW” (clockwise) or “CCW” (counter-clockwise) rotation. It might also list the motor type, like “PSC” or “Capacitor-Start.” The diagram will show the different motor terminals, which are the connection points for the wires.
If there’s no diagram, look at the motor itself.
- Capacitor-Start Motor: This type usually has a bump on the side. That bump is a capacitor, which looks like a small can. It gives the motor an extra jolt of power to get started.
- PSC Motor: A Permanent Split Capacitor (PSC) motor also has a capacitor, but it’s often smaller and may be in a metal or plastic case.
- Universal Motor: These are common in power tools that plug into the wall. If your tool has brushes (small carbon blocks that touch the spinning part), it’s likely a universal motor. Many of these already have a forward/reverse switch built-in.
- Shaded Pole Motor: These are usually small and don’t have a capacitor. They are very simple and often used where not much power is needed.
Once you know your motor type, you can figure out the right way to reverse it.
What’s the Secret to Reversing Most Motors?
Remember how we talked about the starting winding giving the motor its first push? Well, the secret to reversing the motor is simply changing the direction of that push.
We do this by reversing the electrical connection to the starting winding. Think of it like this: if you and your friend were pushing a merry-go-round clockwise, what would you do to make it go counter-clockwise? You would both go to the other side and push in the opposite direction. That’s exactly what we’re doing with the electricity in the motor’s wires.
For most reversible single-phase motors, the process is the same: You will swap the two wires of the starting winding. By flipping the connection of the start winding, you flip the magnetic field it creates. This changes the direction of that initial push, and the motor happily starts spinning the other way. The main winding wires are left alone. The motor’s internal structure, including the stator core lamination where the windings are housed, is designed to work with the magnetic field spinning in either direction.
It’s very important that you only reverse the starting winding. If you reverse the main winding instead, it won’t change the direction. If you reverse both, it’s like you did nothing at all—the motor will still spin in the original direction!
Your Step-by-Step Guide to Safely Reverse a Motor
Okay, you’ve figured out your motor type and you’re ready to make the change. Let’s go through the steps. Safety is the most important part of this job. Messing with electricity can be very dangerous.
Step 1: SAFETY FIRST! Disconnect All Power.
I can’t say this enough. Unplug the motor from the wall. If it’s wired directly into a box, go to your breaker panel and turn off the power to that circuit. Use a voltage tester to make sure the wires are completely dead. Don’t just trust the switch.
Step 2: Open the Motor’s Junction Box.
Find the small box on the side of the motor where the wires connect. This is the junction box. You’ll probably need a screwdriver to remove the cover plate. Be gentle so you don’t strip the screws.
Step 3: Look at the Wiring Diagram.
Check the diagram on the motor’s data plate or on the inside of the junction box cover. It will show you which wires are for the start winding and which are for the run winding. They are often labeled with numbers, like T1, T4, T5, and T8. The diagram is your map for this whole process.
Step 4: Identify the Start Winding Wires.
Using the diagram, find the wires that connect to the starting winding. In many motors, the start winding leads are labeled T5 and T8. The run winding leads are often T1 and T4. Your motor might be different, so always, always trust your motor’s diagram over any general guide.
Step 5: Swap the Wires.
This is the magic step. According to your diagram, you will need to swap the connections for the start winding leads. For example, the diagram might show that for clockwise rotation, one power wire connects to T1 and T8, and the other connects to T4 and T5. To reverse it, you might need to swap T5 and T8. The new connection might be power to T1 and T5, and the other to T4 and T8. Carefully unscrew the wire nuts, make the swap, and screw them back on tightly.
Step 6: Put It Back Together and Test.
Close up the junction box and make sure everything is secure. Now, stand back, plug the motor in (or turn the breaker on), and briefly turn it on. It should now be spinning in the opposite direction! If it is, great job. If not, turn off the power immediately and double-check your connections against the diagram. A common problem is a loose wire.
Can I Use a Switch to Reverse My Motor?
What if you need to change the motor’s direction often? Unscrewing the junction box every time is a pain. This is where a reversing switch comes in handy. You can buy a special switch that does the wire-swapping for you.
The most common type is a DPDT switch, which stands for Double Pole, Double Throw. It sounds complicated, but it’s just a switch with six connectors on the back. It’s designed to re-route the power and reverse the start winding connections with a simple flick.
Wiring a forward reverse switch can be tricky, so you need to follow a wiring diagram for the switch very carefully. This allows you to control the motor’s direction easily, which is great for things like a small hoist, a conveyor, or a machine that needs to run both forwards and backwards. The motor’s spinning part, the rotor, is built on strong materials like rotor core lamination to handle these changes in direction without any problem.
What Are the Dangers I Should Know About?
Working with motors and electricity has risks. Please be careful. Here are some of the biggest dangers to watch out for.
- Electric Shock: This is the biggest danger. Always make 100% sure the power is off and locked out before you touch any wires. A capacitor can still hold a charge even after the power is off, so handle it with care.
- Short Circuits: If you wire something incorrectly, you can cause a short circuit. This can create sparks, damage the motor windings, or even start a fire. Double-check every connection before you turn the power back on.
- Mechanical Damage: Make sure the machine attached to the motor can handle running in reverse. Some pumps or fans are designed to spin in only one direction. Reversing them could break the blades or other parts.
- Voiding Your Warranty: Changing the wiring on a new motor could void the manufacturer’s warranty. If the motor is still under warranty, it might be better to contact the company for advice first.
If you feel nervous or unsure at any point, stop what you are doing. It’s not worth risking your safety.
When Is It Time to Call a Professional?
There’s no shame in asking for help. In fact, it’s the smartest thing to do if you’re out of your comfort zone. You should call a qualified electrician or motor repair professional if:
- You can’t find or understand the motor’s wiring diagram.
- The wires are not color-coded or labeled, and you can’t tell which is which.
- The motor is very large, powerful, or part of a critical system.
- You tried reversing the wires and it didn’t work or the motor is making strange noises.
- You simply don’t feel comfortable or safe doing electrical work.
A professional has the tools and experience to get the job done quickly and safely. The cost of hiring an electrician is much less than the cost of a new motor or a hospital visit.
Quick Summary: What to Remember
We’ve covered a lot of ground, so let’s boil it down to the most important points. Reversing a single-phase motor is a common and useful task.
Here’s what you need to remember:
- Yes, You Can! Most common single-phase motors (like Capacitor-Start, PSC, and Universal) can be reversed.
- Safety Is #1. Always disconnect all power before you start working. Make sure it’s off, and then double-check.
- Be a Detective. Identify your motor type by looking at the data plate and wiring diagram on the motor.
- Swap the Start Winding. The secret to reversing the motor is to swap the two lead wires of the starting winding.
- Follow the Diagram. Your motor’s wiring diagram is your most trusted guide. Follow it exactly.
- When in Doubt, Call a Pro. If you are not 100% confident, it is always safer and smarter to hire a professional electrician.
Now you have the knowledge to tackle that backward-spinning motor. With a little care and attention to detail, you can get your equipment running in the right direction and get your project back on track. Good luck