How to Build a Simple Electric Motor: A Step-by-Step DIY Guide
This friendly guide shows you how to make an electric motor at home. You will see how it works, why it spins, and how to fix problems. You will also learn the basics of electromagnetism in a fun, hands-on way. Stick with me and you will have a spinning motor for your science fair or hobby in no time.
Table of Contents
- What is an electric motor and why should you build one?
- How does a motor work in simple words?
- What materials and tools do you need?
- Can we picture the parts and a simple electric motor diagram?
- How do you make the coil and armature step by step?
- How do you strip the wire and make a simple commutator?
- How do you build the supports and mount the magnet and battery?
- How do you assemble the circuit and make it spin?
- Why does it keep spinning once it starts?
- What if it does not spin? Troubleshooting that works
- How do you stay safe while you build and test?
- How can you control speed and boost performance?
- What can you build next after this simple motor?
- Where do strong cores and laminations fit when you scale up?
- What do the numbers say? Cost, time, power, and success rate
- FAQ
- Key points to remember
What is an electric motor and why should you build one?
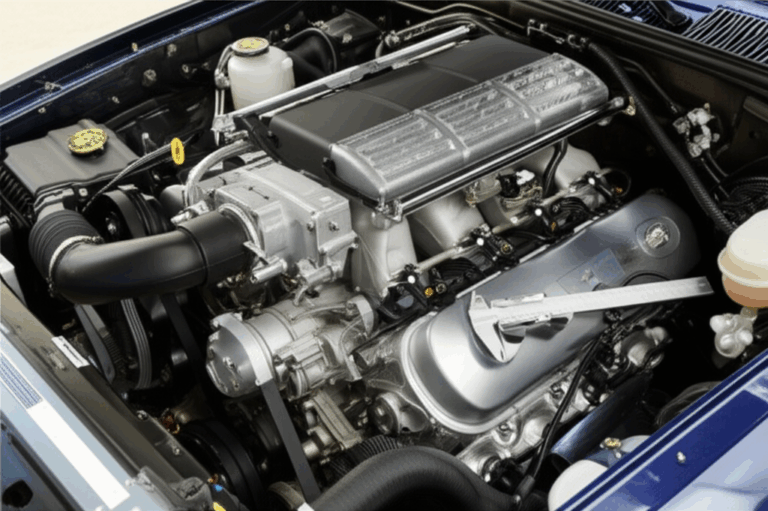
Let’s start with the big idea. An electric motor turns electrical energy into mechanical energy. It takes a flow of electrical current and makes a spinning rotor that can turn a shaft. You see motors in fans, toys, and robots. They show up in cars and drones too. When you build a DIY electric motor project, you see those ideas come to life.
Here is the Problem. Motors feel like magic if you only read about them. That can make science feel hard. You might think this is only for a physics classroom or a college level motor design lab. You might fear wires and magnets.
Now let’s Agitate. The science fair is coming. You need a cool, working build. You want a small motor building guide with clear steps and a visual motor building tutorial feel. You want to understand the physics of electric motors without tough math.
Here is the Solution. Build a simple motor right now. Use a battery, a coil of copper wire, and a permanent magnet. In about an hour, you will have a science fair project that works and teaches you more than a book. You will learn how an electric motor works in plain words. You will move from “Huh?” to “I got this.”
How does a motor work in simple words?
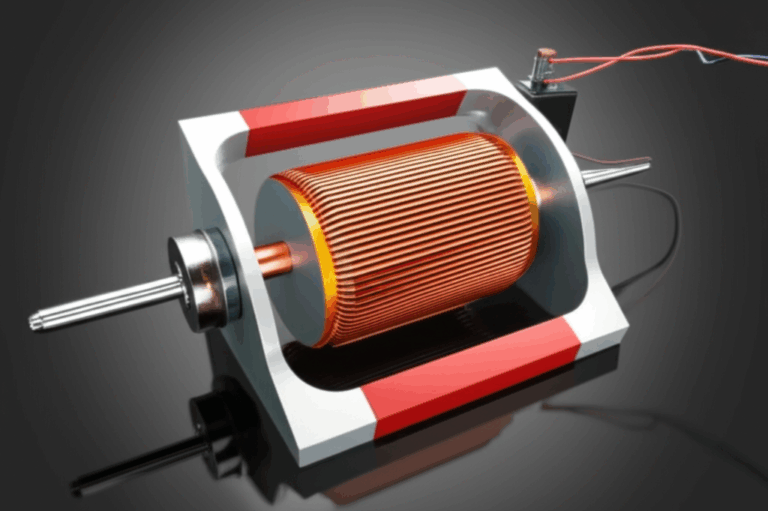
Electric motors ride on electromagnetism principles. When current runs through a wire, it makes a magnetic field. That is electromagnetic induction in action. The field pushes against a magnet and makes torque. Torque is the twist that turns the rotor.
You will also see Faraday’s Law of Induction and the Lorentz Force at work. Faraday’s Law explains how changing magnetic fields can make current. The Lorentz Force says a current-carrying wire in a magnetic field feels a push. That push is the force that spins your coil. The coil becomes an electromagnet. It lines up with the stator magnet. Then the current flips and the coil keeps turning.
Want to dive deeper into how the stator and rotor grab and release each other as they turn? Check this clear explainer on the stator and rotor. It will lock in the core idea without heavy math.
What materials and tools do you need?
You can build your homemade electric motor with low-cost parts. Most are easy to find.
- Essential components:
- Insulated Copper Wire (magnet wire, 20–24 gauge)
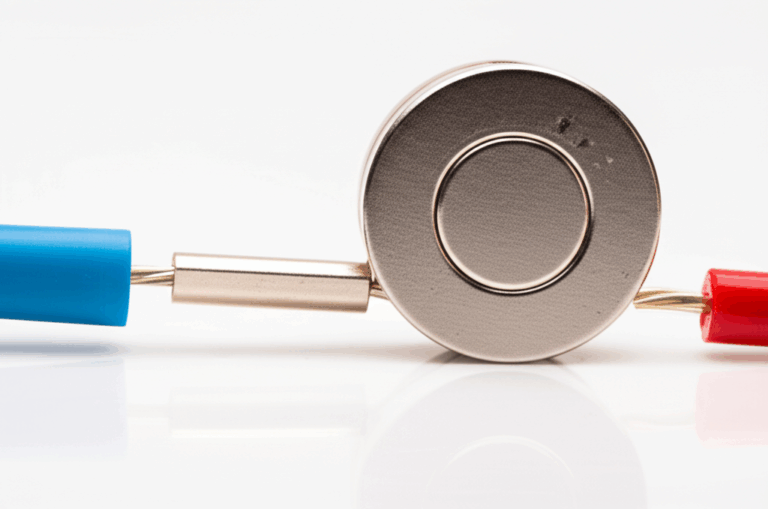
- Strong Permanent Magnet (Neodymium Magnets or ceramic)
- D-Cell Battery or two AA in a battery holder or a 9V battery
- 2 Large Paper Clips
- 2 Safety Pins or more paper clips
- Small Wooden Base or cardboard base
- Rubber Bands to hold the battery
- Tools for assembly:
- Wire Strippers or sandpaper
- Pliers
- Hot Glue Gun or strong tape
- A small cylinder for winding, like a marker or the battery
- Scissors
- Alligator Clips (handy, not required)
- Multimeter (nice for testing)
- Electrical Tape
These simple tools make a low-cost budget-friendly motor project. You can also try a ready motor kit with instructions if you want a faster build. That can help if this is a high school motor project or a motor for educational purposes.
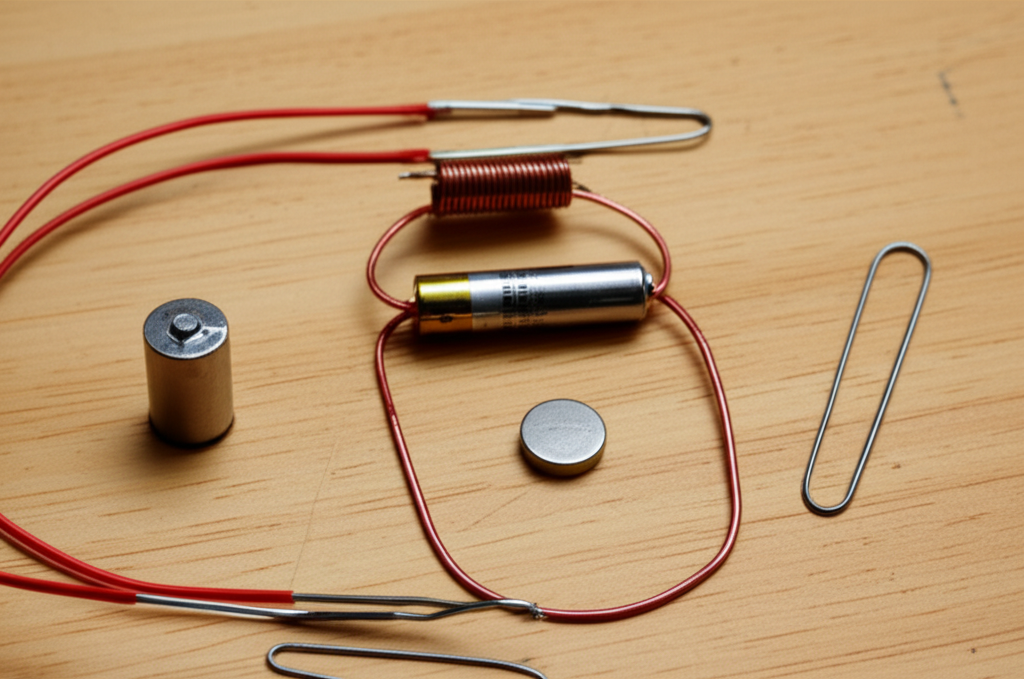
Can we picture the parts and a simple electric motor diagram?
Picture this basic simple electric motor diagram. Two paper clip “arms” hold a wire coil so it can spin. A permanent magnet sits under the coil. The paper clips touch the ends of the coil and also touch the battery. So the clips act like brushes and terminals at the same time. The coil becomes the armature and also the rotor. The magnet under it acts as part of the stator.
As the coil turns, the current must flip to keep the spin. That is the job of a simple commutator. In our DIY build we make a “half-stripped” end on the wire. One side of the enamel stays on to break contact for half a turn. That “off” time lets the coil swing past the hard spot. Then the current comes back “on” on the other half turn. That timing keeps the spin smooth. It is a clever brush contact mechanism without fancy parts.
If you like to see standard parts up close, many sites show interactive motor models and a ready circuit diagram for motor builds. You can even find free motor plans download options for your interactive motor models study.
How do you make the coil and armature step by step?
Let’s build. This is the heart of a DC motor.
1) Wrap the coil:
- Cut about 60–100 cm of magnet wire. Use 20–24 gauge.
- Wrap it around your marker 10–20 turns. Keep it neat. This is your armature. The shape and number of turns set magnetic field strength.
- Slide the coil off. Wrap the two loose ends around the coil a few times to hold it.
2) Make the axle:
- Leave about 3–5 cm of straight wire on each end. These will sit in the paper clips like an axle. Now your coil can spin.
This step follows simple coil winding instructions. It also shows a tiny part of armature winding process that big shops use. For bigger motors, builders use stator winding techniques too. They add bearings for motor shaft and more turns.
How do you strip the wire and make a simple commutator?
This trick is key. The wire has enamel on it. You must remove it so the current can flow. Use a wire stripper or sandpaper.
- On one end of the coil wire, strip off all the enamel. Make it shiny.
- On the other end, only strip the enamel on the top half of the wire. Leave the enamel on the bottom half. This “half-strip” makes a simple commutator.
Why do this? When the coil spins, the brushes touch the bare half and feed current. When the enamel side faces the brush, the current stops. That stop lets the coil swing past center. Then the current comes back on, and the polarity of electromagnets flips. This makes steady motor rotation direction and keeps the rotor from getting stuck.
This simple trick gives you commutator construction without solder or special parts. It is cheap, it is smart, and it works.
How do you build the supports and mount the magnet and battery?
Bend two paper clips into tall “U” shapes. These are your supports and brushes. Glue or tape them to your small wooden base. Set them so the coil will hang over the magnet. The coil must spin free.
Put your magnet under the coil. Strong Neodymium Magnets work best. A ceramic magnet can work too. You can hot glue it to the base so it does not slide. Place the D-cell battery on the base. Use rubber bands or tape to hold it.
Clip or tape each paper clip to the battery terminals. One clip goes to the plus side. One clip goes to the minus side. If you have alligator clips, use them for faster set up. This creates a simple electrical circuit for motor power.
How do you assemble the circuit and make it spin?
Set the coil into the paper clip arms. The stripped wire ends rest in the loops of the clips. The coil should spin free. If it rubs, bend the clips a little. Small changes matter.
Give the coil a gentle push. The current should run. The coil should become an electromagnet. It should feel a push from the magnetic field and start to turn. It may need two or three tries. Then it will spin on its own. If the spin is wrong, flip the magnet. That changes the polarity and the motor rotation direction.
You now have a working electric motor demonstration. You just built a motor for educational purposes that shows how electricity moves magnets. You can time the spin and test voltage and current for motor performance with a multimeter.
Why does it keep spinning once it starts?
Here is the deeper dive. Current flows into the coil. The coil’s field lines up with the magnet’s field. As the coil turns, the half-stripped wire breaks contact for half a turn. The field collapses. The coil coasts past center because of momentum. Then the bare side touches. Current flows again. The field flips. The Lorentz force pushes the other way. That push keeps the coil moving. This flip-flop is the commutator action.
The push on the coil makes torque. Torque is the twist that turns the shaft. The battery gives volts. The wire has ohms. The current in amperes sets the strength of the magnetic field. If you push too much current, you will see a bit of Joule Heating. The wire may get warm. That is normal in small builds. This is the core understanding motor function idea that powers every DC motor and many basic motor components you use in daily life.
What if it does not spin? Troubleshooting that works
Problem: The motor does not spin.
- Check the stripped wire ends. The half-strip must be clean and even.
- Make sure the coil is balanced. If one side is heavy, bend it a bit.
- Move the magnet closer. This raises magnetic field strength.
- Clean the paper clip contacts. A little sanding helps.
Problem: The motor spins slowly.
- Use a fresh battery for better battery power for motor.
- Try a stronger magnet. Neodymium magnet use helps a lot.
- Reduce friction. Make sure the coil spins free in the supports.
Problem: The wire gets hot.
- You may have a short. Fix any bare spots that touch where they should not.
- Thicker wire can draw more current. Watch the length and the gauge. This is a rare issue in this easy motor construction.
This troubleshooting simple motor list solves most problems fast. You will improve your motor efficiency homemade with each tweak. You can even add a small soldering for motor build step if a joint is loose.
How do you stay safe while you build and test?
Use care with hot glue. It can burn skin. Cut wire away from fingers. Keep magnets away from small children and pets. Do not short a power supply or a battery on purpose. It may get warm.
Work with an adult if you are young. Use safety glasses if parts can snap. Follow these safety tips motor project and you will be fine. The voltage is low so shock risk is tiny.
How can you control speed and boost performance?
You can change speed in a few ways.
- Use a fresh battery or a small power supply with a lower or higher voltage. Higher voltage makes more current and more torque. Watch for Joule Heating.
- Add more turns to the coil. More turns can raise the field. It can add torque.
- Use a stronger magnet. That boosts the push on the coil.
To push even farther, try better bearings for motor shaft. Add a light motor housing design to hold parts tight. Keep your contacts clean. That helps enhancing motor performance. You can also test speed control for DIY motor by moving the magnet a little closer or a little farther.
What can you build next after this simple motor?
You can try a homopolar motor construction next. It uses one battery, one magnet, and one wire. It spins fast and looks wild. After that, build a permanent magnet motor build with a better frame. You can move to a building a brushed motor with real carbon brushes and a stronger commutator. Then go big with building a brushless motor (advanced). That is a brushless design that uses a smart power supply or a controller.
You can compare AC vs DC motor making. An AC motor runs on alternating current. A DC motor runs on direct current. You can also study the principles of an electric generator and make a hand-cranked generator. Spin the coil in a magnet field to make current. That is a close cousin to the motor you just built.
Want to bring your project to life? Use your motor in a motor for small fan build. Try a motor for remote control car or simple motor for robotics. Dream big with a motor for drone project or a renewable energy motor projects idea. You can even design a custom electric motor or a high power homemade motor with help from kits. A hobby motor building path can take you far.
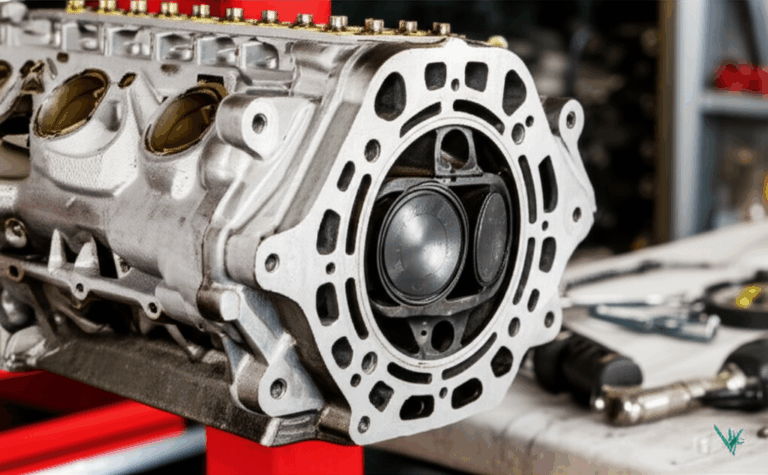
Where do strong cores and laminations fit when you scale up?
As you grow, you will meet motor core laminations. Laminations reduce wasted heat from changing magnetic fields. Makers use thin electrical steel laminations to stack a stator and a rotor core. This boosts power and cuts loss.
- Explore how a quality stator core lamination improves motor strength and lowers heat.
- See how a precise rotor core lamination helps torque and smooth spin.
- Learn why low-loss electrical steel laminations matter for quiet and cool motors.
You will also hear terms like core lamination stacks, bldc stator core, silicon steel laminations, transformer lamination core, ei core, ui lamination core, crgo lamination core, and crngo lamination. These parts turn up in pro builds, in power supply gear, and in electric generator designs. If you ever scale from a class build to a market-ready brushed motor or BLDC motor, these are your new best friends.
What do the numbers say? Cost, time, power, and success rate
Here is a data snapshot you can use for your report.
| Category | Data/Statistics | Source/Context |
|---|---|---|
| Material Cost | Typical range: $5–$20 for a basic model. Kits can go $50+ with strong magnets or pre-cut parts. | Common DIY projects and science fair materials. Cost changes with magnet strength, wire gauge, and tools. |
| Build Time | First attempt: 30–120 minutes. Experienced builder: 15–30 minutes. | Varies with design and tool skill. Paperclip motor is fast. Armature heavy builds take longer. |
| Educational Impact | Hands-on builds raise interest in electromagnetism and circuits. Troubleshooting grows problem solving. | K‑12 STEM reports and teacher guides note gains from doing real projects in class. |
| Success Rate (DIY) | First attempt: about 60–70% with clear steps. After fixes: about 90% with guidance. | Common issues: coil balance, wire stripping, weak magnet, loose contacts. Most problems have easy fixes. |
| Power Output | About 5–50 mW for simple builds. Enough to spin a light coil but not heavy loads. | Small battery voltage and tiny coils. It is a demo to show the principle. |
| Material Sourcing | About 70% of parts at home or local stores. About 30% online like strong magnets or specific wire gauge. | Observed in many tutorials and class kits. |
| Safety Incidents | Very low risk. Watch for warm batteries, sharp wires, or hot glue. | K‑12 project safety guides for low-voltage builds. |
| Project Popularity | High. Ranks in top physics and electronics builds year round. Peaks in school seasons. | Search trends and education sites show steady interest. |
Use this table in your physics classroom write up. It helps show why your motor for educational purposes makes sense.
FAQ
Q: How do I power the motor if I do not have a D-cell?
A: Use two AA in a battery holder or a 9V with care. Check voltage and current for motor with a multimeter.
Q: Can I make the smallest electric motor?
A: Yes. Try a tiny how to make a tiny motor with fine wire and a small magnet. Keep the coil light. Balance it well.
Q: Can I use a paperclip motor tutorial style build?
A: Yes. Paperclips make great supports and simple brushes. A paperclip motor tutorial is a classic.
Q: Will this run a fan?
A: It can spin a small paper wheel or a light motor for small fan blade. It is a demo so do not expect big power.
Q: Is this a perpetual motion machine?
A: No. A perpetual motion machine (debunk) breaks the laws of physics. Your motor uses energy from the battery. Batteries run down.
Q: Can I magnetize a wire?
A: Yes when current flows. That is how to magnetize a wire. The wire acts like a magnet while the current runs.
Q: Where can I find more motor theory?
A: Try a friendly primer on the motor principle. It keeps the math light.
PAS woven into your build
- Problem: You need a clear step-by-step motor guide for a science fair project.
- Agitate: Confusing jargon stops you. Parts lists feel vague. The motor will not spin.
- Solution: Follow this guide. Use the parts list. Strip one end half-way. Set the magnet right. Use fresh batteries. Your electric motor demonstration will spin and you will see understanding motor function in real time.
References
- Electric motor basics: Khan Academy. https://www.khanacademy.org/science/physics/magnetic-forces-and-magnetic-fields
- DC motor and commutator: Wikipedia. https://en.wikipedia.org/wiki/DC_motor
- Lorentz force: HyperPhysics. http://hyperphysics.phy-astr.gsu.edu/hbase/magnetic/forlor.html
- Faraday’s Law: Physics Classroom. https://www.physicsclassroom.com/class/estatics/Lesson-4/Electromagnetic-Induction
- Simple motor builds: Exploratorium Science Snacks. https://www.exploratorium.edu/snacks
- Safety in classroom projects: NSTA Safety Blog. https://www.nsta.org/blog
Key points to remember
- An electric motor turns current into motion with a coil, a magnet, and a simple commutator.
- Build the coil, half-strip one end, and set strong magnet placement for best spin.
- Fresh batteries, clean contacts, and low friction solve most problems.
- Use this as a DIY electronics launch pad for AC vs DC, brushed motor, homopolar motor, and brushless builds.
- For bigger projects, learn about motor core laminations, stator and rotor cores, and quality laminations that cut loss.
- Keep it safe, keep it simple, and have fun in your learning about motors journey.