How to Safely Connect a Single Phase Motor: A Step-by-Step Wiring Guide
Got a new single phase motor for your project? That’s great! But now you’re staring at a bunch of wires, and it feels a little scary. You know that connecting it wrong could be a huge problem. It could wreck your new motor, trip a breaker, or even be dangerous. Don’t worry. You’ve come to the right place. This guide will show you exactly how to connect your motor safely and correctly. I’ll walk you through every step, from safety checks to the final test. By the end, you’ll feel confident and your motor will be running perfectly.
Table of Contents
- Why Is Connecting a Motor a Big Deal?
- What Must You Do Before Touching Any Wires?
- What Tools Will You Need for the Job?
- How Do You Read Your Motor’s Nameplate?
- How Do You Get the Motor Ready for Wiring?
- How Do You Connect the Wires Step-by-Step?
- How Do You Change the Motor’s Spinning Direction?
- How Do You Finish the Job and Do a Final Check?
- How Should You Test Your Newly Wired Motor?
- What If Something Goes Wrong? (Easy Troubleshooting)
Why Is Connecting a Motor a Big Deal?
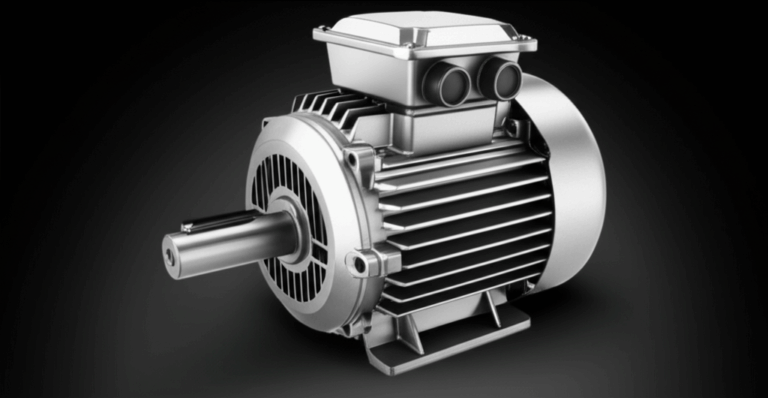
You might think wiring a motor is as simple as plugging in a lamp. But it’s a bit more involved. A single phase motor is a powerful tool found in everything from a well pump and washing machine to a table saw in your workshop. Getting the connection right is super important for a few big reasons. First, safety. Electricity is not something to guess about. A wrong connection can cause a short circuit, create a fire hazard, or even lead to a dangerous electric shock.
Second, the motor’s health and performance depend on it. If you connect a motor meant for high voltage to a low voltage supply, it might just hum and refuse to start, eventually overheating. Worse, if you connect a low voltage motor to a high voltage supply, you’ll likely hear a pop and see smoke. That’s the sound of your motor burning out. Proper wiring ensures the motor gets the right power to do its job well for a long, long time. The whole motor principle relies on electricity flowing correctly through its internal parts to create motion.
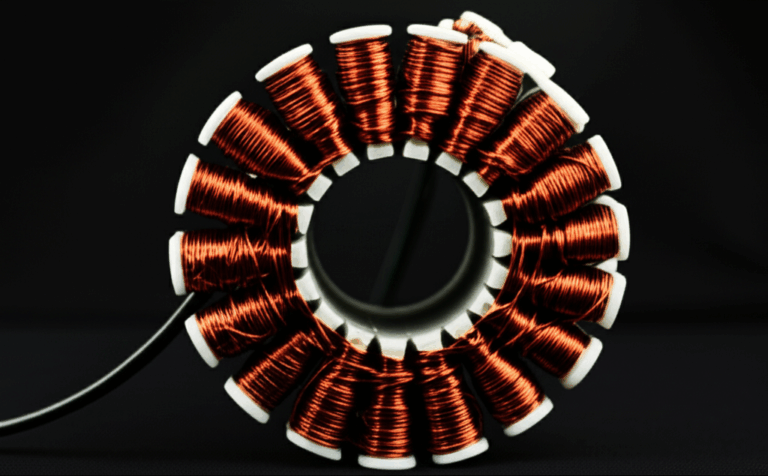
At its heart, a motor is a carefully balanced machine. Inside, you’ll find parts made from thin sheets of metal called motor core laminations, which are vital for creating the magnetic fields that make it spin. Companies like Sino Lamination are experts in making these high-quality parts that make motors efficient. When you wire the motor correctly, you’re making sure these amazing little parts can do their job without being damaged.
What Must You Do Before Touching Any Wires?
Before you even think about picking up a screwdriver, we have to talk about safety. This is the most important step. Rushing this can lead to big trouble. Following these rules will keep you safe and protect your equipment.
1. Turn Off the Power!
This is rule number one, always. Go to your circuit breaker panel and find the breaker that sends power to where you’re working. Flip it to the “OFF” position. Don’t just trust that it’s off. If you can, put a piece of tape over it or use a special “lockout/tagout” device. This stops someone from accidentally turning it back on while you’re working.
2. Check That the Power is Really Off.
Get your multimeter and set it to read AC voltage. Carefully touch the probes to the power wires you’ll be connecting to the motor. The meter should read “0” or very close to it. Test your meter on a live outlet first to make sure it works! Never, ever trust that a circuit is dead until you’ve tested it yourself.
3. Wear Your Safety Gear.
Always wear Personal Protective Equipment (PPE). This means safety glasses to protect your eyes from sparks or flying bits of wire. It’s also a good idea to wear insulated gloves, especially if you’re new to electrical work.
4. Read the Manual and Nameplate.
Your motor came with a manual for a reason. Read it! Also, look at the motor nameplate. This little metal plate has a wiring diagram and all the key information you need. We’ll talk more about this in a minute. Always follow the manufacturer’s instructions first.
What Tools Will You Need for the Job?
Having the right tools makes any job easier and safer. You don’t need a giant toolbox, just a few key items. Here’s a list of what you should have ready:
- Multimeter: For checking voltage and making sure the power is off.
- Wire Strippers: To remove the plastic coating from the end of the wires without cutting the metal part.
- Screwdrivers: You’ll likely need both a Phillips head and a flathead screwdriver.
- Pliers: A good pair of pliers is helpful for twisting wires together.
- Wire Nuts or Crimp Connectors: These are used to connect wires together safely.
- Electrical Tape: Good for adding an extra layer of protection over your connections.
- Conduit and Fittings: If you need to run the wires through a protective pipe.
How Do You Read Your Motor’s Nameplate?
The motor’s nameplate is like its birth certificate. It tells you everything you need to know to wire it correctly. It might look like a bunch of confusing codes, but it’s pretty simple once you know what to look for.
| Nameplate Info | What It Means | Why It’s Important |
|---|---|---|
| VOLTS (V) | The electrical pressure the motor needs. | Tells you if it needs 120V or 240V power. A wrong match is bad! |
| AMPS (FLA) | “Full Load Amps” – how much power it uses when working. | Helps you pick the right size wire and circuit breaker. |
| HP | “Horsepower” – how strong the motor is. | Tells you the power of the motor. |
| RPM | “Revolutions Per Minute” – how fast the shaft spins. | Tells you the speed of the motor. |
| HZ | “Hertz” – the type of electrical power (usually 60Hz in the US). | Make sure this matches your power supply. |
| DIAGRAM | A small picture showing how to connect the wires. | This is your map! It shows where each wire goes. |
The most important things for wiring are the voltage and the wiring diagram. Many single phase motors are “dual voltage,” meaning they can run on either 120V or 240V. The diagram will show you two different ways to connect the wires, one for “LOW” voltage (120V) and one for “HIGH” voltage (240V).
How Do You Get the Motor Ready for Wiring?
Okay, the power is off and you have your tools. Now it’s time to prepare the motor.
First, make sure the motor is mounted securely. You don’t want it vibrating or moving around when it’s running. Use bolts to attach it firmly to a strong, flat surface. Also, make sure the motor has room to breathe. Motors create heat, and they need good ventilation so they don’t overheat. Don’t crowd it in a tight space.
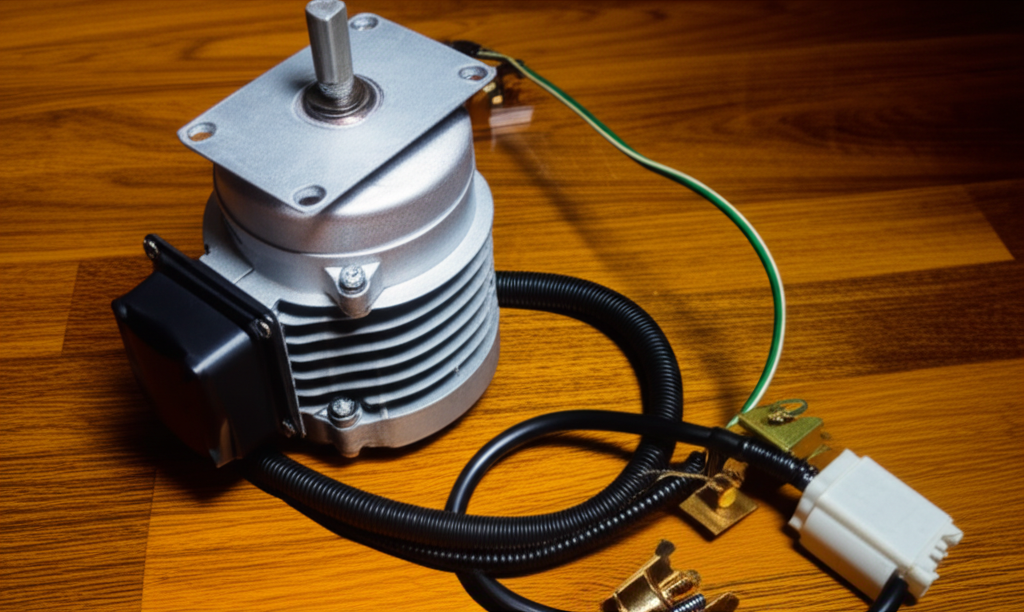
Next, get your power wires ready. You might need to run them through a protective pipe called conduit. This keeps the wires safe from damage. Connect the conduit to the motor’s junction box. This is the little box on the side of the motor where all the wiring happens.
How Do You Connect the Wires Step-by-Step?
This is the main event! Take a deep breath. It’s not hard if you follow the diagram.
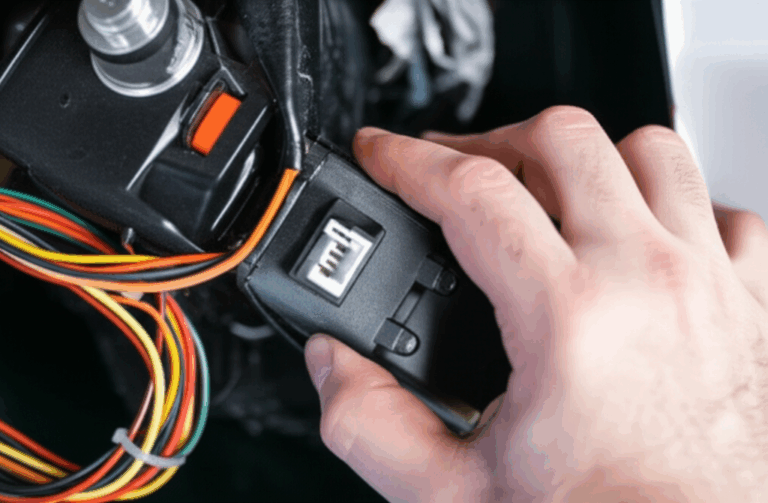
Step 1: Open the Motor’s Junction Box
Use your screwdriver to remove the cover plate on the motor’s junction box. Inside, you will see several wires coming from the motor. They will have different colors or be labeled with numbers (like T1, T2, T5, etc.). You should also find the motor’s wiring diagram pasted on the inside of the cover. This is your guide.
Step 2: Match Your Wires to the Diagram
Look at the diagram. It will show you how to connect the motor for the voltage you are using (120V or 240V). It will also show you how to connect the wires from your power supply. Your power supply will have:
- A Hot wire (usually black). For 240V, you’ll have two hot wires.
- A Neutral wire (usually white, for 120V only).
- A Ground wire (green or bare copper).
Step 3: Connect the Ground Wire FIRST
Safety first, remember? The ground wire is your lifeline. It protects you from electric shock if something goes wrong inside the motor. Find the green screw inside the junction box. This is the grounding screw. Attach the green or bare copper ground wire from your power supply to this screw and tighten it down. Always connect the ground wire first and disconnect it last.
Step 4: Connect the Power Wires
Now, follow your diagram exactly. I’ll give you a common example for a dual-voltage motor, but your diagram is the final rule.
- For 120V (Low Voltage): The diagram will often tell you to connect certain motor wires together and then connect your power wires. For example, it might say to connect motor wires T2 and T4 to your white (Neutral) power wire. Then, it might say to connect T1 and T3 to your black (Hot) power wire.
- For 240V (High Voltage): The diagram will show a different setup. It might tell you to connect T2 and T3 together and cover them with a wire nut (they don’t connect to the power supply). Then, you would connect T1 to one of your hot power wires and T4 to the other hot power wire.
Use your pliers to twist the ends of the wires together firmly. Then, screw on a wire nut until it’s tight. Give the wires a little tug to make sure they are secure. No bare metal should be showing.
How Do You Change the Motor’s Spinning Direction?
What if your motor is spinning the wrong way? For many single phase motors, you can reverse the rotation. Again, check your diagram!
Usually, reversing the motor involves swapping two of the wires that go to the start winding. The diagram might show something like, “To reverse rotation, swap T5 and T8.” This is a common setup for a capacitor start motor. It’s that simple. Just turn off the power, open the box, swap those two specific motor wires, and you’re done. The motor’s internal makeup, including the relationship between the stator and rotor, determines how this reversal works.
How Do You Finish the Job and Do a Final Check?
You’re almost there! Once all the wires are connected with wire nuts, it’s time to clean up.
Gently push the wires back into the junction box. Make sure no wires are pinched. Put the cover plate back on the junction box and tighten the screws. Give everything a final look. Are all connections tight? Is the conduit secure? Is the motor bolted down? Good.
How Should You Test Your Newly Wired Motor?
This is the moment of truth. Let’s do it safely.
What If Something Goes Wrong? (Easy Troubleshooting)
Sometimes things don’t work right on the first try. Don’t panic! It’s usually a simple fix. Here are some common issues and what to check.
| The Problem | Things to Check |
|---|---|
| Motor hums but won’t start. | 1. Wrong wiring: Double-check your connections against the diagram. This is the most common cause. 2. Low Voltage: Is it wired for 240V but getting 120V? 3. Bad Capacitor: The capacitor gives the motor a “kick” to start. It might need replacing. 4. Stuck Load: Is something jamming what the motor is trying to turn? |
| Motor runs in the wrong direction. | You need to reverse the rotation. Turn off the power and swap the start winding wires (like T5 and T8) as shown on your diagram. |
| The circuit breaker trips. | 1. Short Circuit: A hot wire might be touching the ground or the motor frame. Turn off power and check all your connections. 2. Overload: Is the motor trying to do too much work? 3. Wrong Wiring: A serious wiring mistake can cause a short. |
| Motor gets very hot or smells bad. | 1. Wrong Voltage: Is a 120V motor connected to 240V? This will burn it out fast. 2. Poor Ventilation: The motor can’t cool itself. Make sure air can flow around it. 3. Overload: The motor is working too hard. If you encounter a persistent motor problem, it might be time to call a professional. |
Final Thoughts: What to Remember
Connecting a single phase motor isn’t so scary when you break it down into simple steps. Just remember to be patient and careful.
Here are the most important things to take away:
- Safety is everything. Always, always, always turn off the power and double-check it with a multimeter before you start.
- The motor’s nameplate is your best friend. The wiring diagram on it has the exact instructions you need for your motor.
- Ground the motor first. Connect the green or bare copper wire to the grounding screw before you do anything else.
- Double-check your connections. Make sure your wiring for 120V or 240V matches the diagram perfectly.
- When in doubt, ask for help. If you feel unsure or confused, it’s always smarter to call a qualified electrician than to risk a dangerous mistake.
You did it! By following these steps, you’ve safely and correctly wired your motor. Now you can get back to your project with confidence.