How to Safely Reverse a Single Phase Motor: Your Comprehensive Wiring Guide
Have you ever installed a fan only to have it suck air up instead of blowing it down? Or hooked up a machine and realized the belt is running backward? It’s a frustrating moment, but don’t worry, you’re not alone. The good news is that for most common single-phase motors, changing the direction is a surprisingly simple fix. You just need to know which wires to swap.
This guide is here to walk you through it. I’ll show you, step-by-step, how to safely reverse your motor’s rotation. We’ll cover everything from crucial safety checks to identifying your motor type and understanding the exact wiring changes needed. Forget the confusing technical jargon; we’ll break it down into plain English so you can get your project running in the right direction.
Table of Contents
Safety First! Why You Must Disconnect Power
Before you even think about touching a single wire, let’s talk about the most important step: safety. Working with electricity is no joke. A simple mistake can lead to serious injury or damage your motor.
You’ve heard it a million times, but I’ll say it again: turn off the power. Don’t just flip a switch. Go to your circuit breaker box and shut off the breaker that controls the circuit you’re working on. If you’re not sure which one it is, turn off the main breaker for the whole building. Use a lockout/tagout procedure if you’re in a professional setting. Use a multimeter to double-check that there is zero voltage at the motor terminals before you proceed. This simple check can save your life.
Always wear safety glasses and, if possible, insulated gloves. Use tools with insulated handles. This isn’t just about following rules; it’s about making sure you go home in one piece. Making sure you have proper grounding for the motor is also critical for safety.
How Does a Single-Phase Motor Spin, Anyway?
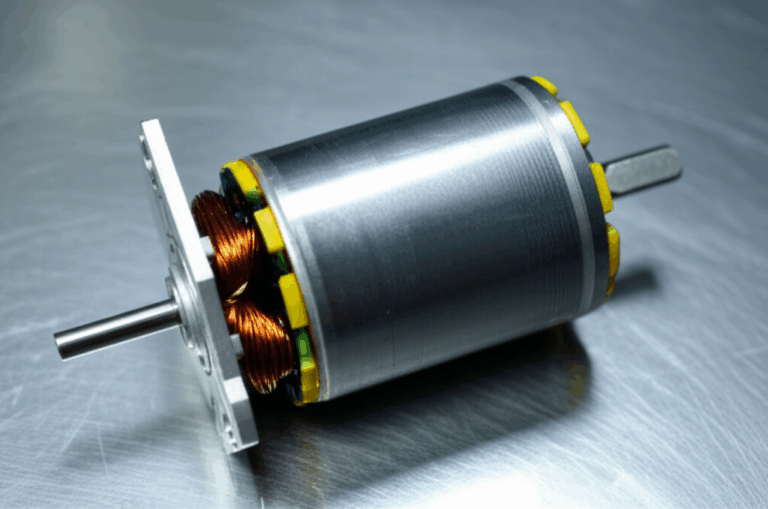
You might wonder why a motor spins in one direction in the first place. It’s actually a clever trick of physics. A simple single-phase AC motor, if left to its own devices, would just hum and vibrate, unsure which way to turn. To give it a “push” in the right direction, it has two sets of wire coils inside called windings.
To reverse the motor’s direction, all we have to do is flip the magnetic field of the start winding relative to the run winding. In simple terms, we’re just changing the direction of that initial “push.” We do this by reversing the polarity of the start winding connections.
The quality of these windings and the stator core lamination they are wound around is crucial for the motor’s efficiency and longevity. Poor quality can lead to overheating and premature failure.
What Kind of Motor Do I Have? (It Matters!)
Before you can change the wiring, you need to know what you’re working with. Different types of single-phase motors are reversed in slightly different ways. Check the motor’s nameplate for information. If that’s worn off, here’s a quick guide to identifying the most common types.
- Capacitor-Start Motor: These are very common on equipment that needs a strong push to get started, like air compressors or large fans. You can usually spot them by the “hump” on the side of the motor housing. That hump contains a start capacitor, which gives the motor a big boost of starting torque. They also have a centrifugal switch inside that disconnects the start winding once the motor is up to speed.
- Permanent Split Capacitor (PSC) Motor: These are common in HVAC systems and fans. They also have a capacitor, but it’s usually a smaller, oval or rectangular metal can. Unlike a capacitor-start motor, a PSC motor uses its capacitor all the time, not just for starting.
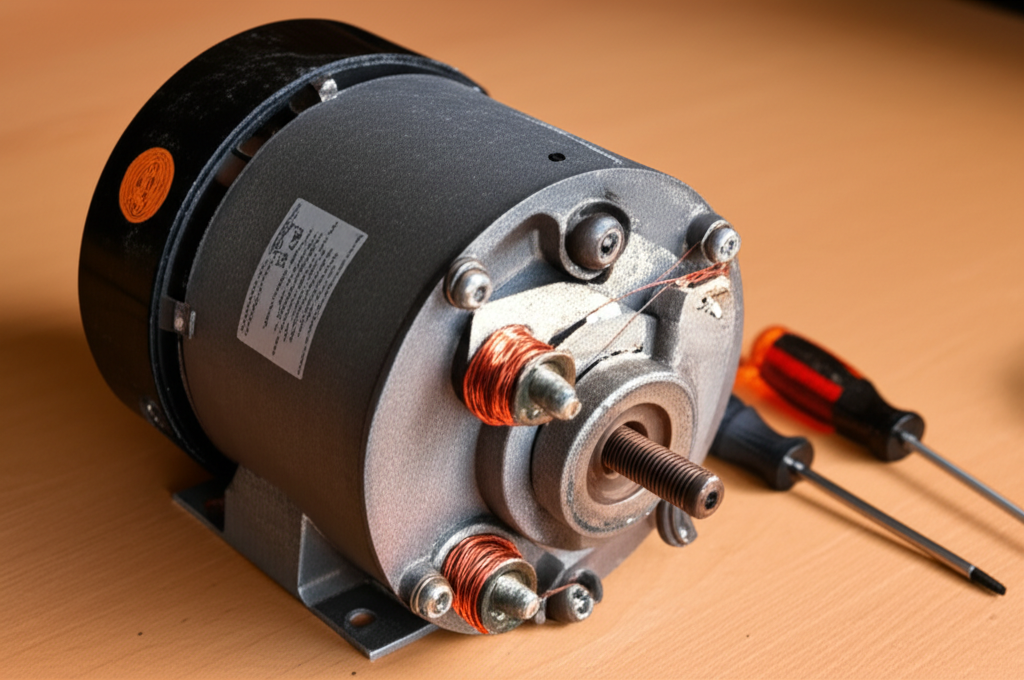
- Split-Phase Motor: These are simpler motors often found on smaller appliances, grinders, or small tools. They look very plain and don’t have a visible capacitor on the outside. They use a difference in wire resistance between the windings to create the starting push.
- Shaded-Pole Motor: These are usually very small and low-power, found in things like bathroom exhaust fans or small appliances. They have a distinct look with copper rings around part of each stator pole. Unfortunately, most of these are not reversible by changing the wiring.
| Motor Type | Key Feature | Common Use | Reversible? |
|---|---|---|---|
| Capacitor-Start | Large starting capacitor, centrifugal switch | Air compressors, pumps | Yes |
| PSC | Smaller run capacitor, no centrifugal switch | Fans, blowers | Yes |
| Split-Phase | No external capacitor | Small tools, appliances | Yes |
| Shaded-Pole | Copper shading rings on stator | Small fans, pumps | Usually no |
Step-by-Step: How to Reverse a Capacitor-Start Motor
This is one of the most common types of motors you’ll encounter. Reversing its direction is straightforward.
Problem: Your compressor or pump is running backward. This can damage the equipment and won’t move any air or fluid.
Agitate: You can’t just ignore it. Running a compressor backward can cause serious damage, and a fan spinning the wrong way is useless. You need a fix, and you need it now.
Solution: A simple wire swap will solve it. Here’s how:
This process effectively changes the motor’s spin direction from clockwise (CW) to counter-clockwise (CCW), or vice versa.
Step-by-Step: How to Reverse a PSC Motor
Reversing a Permanent Split Capacitor (PSC) motor is very similar to a capacitor-start motor, but the wiring is slightly different because the capacitor is always in the circuit. These are common in HVAC fan motor applications.
Step-by-Step: How to Reverse a Split-Phase Motor
Split-phase motors don’t have a capacitor, which makes their wiring a bit simpler. The principle, however, is exactly the same: reverse the connections to the start winding.
What About Shaded-Pole Motors?
If you have a small, inexpensive shaded-pole motor—often found in household fans or small appliances—you might be out of luck.
Problem: Your small fan motor is spinning the wrong way.
Agitate: This can make the device completely useless. No amount of fiddling with the wires seems to work, and you’re stuck with a fan that doesn’t blow.
Solution: Unfortunately, for most shaded-pole motors, the direction is fixed by their physical construction. The “shading coils” (the copper rings) create a rotating magnetic field that only goes one way. Reversing them is generally not possible without physically disassembling the motor and flipping the stator, which is often not practical or even possible. If you need a reversible motor for such an application, it’s best to buy one specifically designed for that purpose.
Need to Switch Directions Often? Using a Reversing Switch
For applications like a small lathe, conveyor belt, or drill press, you might need to change the motor’s direction frequently. Constantly rewiring the motor is a pain and can wear out the connections. This is where a drum switch or a DPDT (Double Pole, Double Throw) switch comes in handy.
A drum switch is a heavy-duty manual switch that’s designed for exactly this purpose. It has a handle you can move to three positions: Forward, Off, and Reverse. Wiring a drum switch is a bit more involved, but it essentially automates the process of swapping the start winding leads for you. The switch’s internal contacts reconfigure the connections when you move the handle.
A DPDT switch can do the same job. By wiring the motor’s start winding through the switch, you can create a simple forward reverse motor control circuit. When you flip the switch one way, it connects the start winding for clockwise rotation. Flip it the other way, and it reverses the connections for counter-clockwise rotation. Always follow the drum switch wiring diagram or the DPDT switch diagram carefully. This is a common setup in many machine tools.
Troubleshooting: What If It Still Won’t Work?
So you’ve swapped the wires, and something isn’t right. Let’s run through a few common problems.
- Problem: The motor just hums and doesn’t start.
- Cause: This usually means the start winding isn’t getting power, or the capacitor (if you have one) has failed.
- Solution: Double-check your connections. Make sure all wire nuts are tight. If you have a capacitor-start motor, the centrifugal switch might be stuck. A faulty capacitor is also a common culprit. You can test it with a multimeter that has a capacitance setting.
- Problem: The motor still runs in the same direction.
- Cause: You likely swapped the wrong wires. It’s easy to get the run and start windings mixed up.
- Solution: Disconnect the power and re-examine the wiring diagram. If you don’t have one, use an ohmmeter. The start winding will have higher resistance. Make sure you are only swapping the leads for one of the windings, not both.
- Problem: The circuit breaker trips immediately.
- Cause: This indicates a dead short. You’ve likely connected a hot wire directly to a neutral or ground.
- Solution: DISCONNECT THE POWER IMMEDIATELY. Carefully retrace your steps. A wire may have come loose and is touching the motor housing, or you may have crossed the main power leads.
When Should You NOT Reverse a Motor?
Before you start swapping wires, take a moment to consider the machine the motor is attached to. Reversing the direction isn’t always a good idea.
- Pumps: Many pumps, especially centrifugal water pumps, are designed to work in only one direction. Running them backward can be inefficient and may even damage the impeller.
- Fans with Curved Blades: Fans with blades curved in a specific direction are optimized for airflow in that direction. Reversing them will cause them to move very little air and can cause strain.
- Machinery with Threaded Parts: On some tools, like bench grinders, the nuts holding the grinding wheels on are designed to be self-tightening with the motor’s rotation. If you reverse the motor, these nuts could loosen, and the wheels could fly off!
Always think about what the motor is doing. If the machine was designed for one-way operation, reversing it could be ineffective or dangerous.
Key Takeaways
Reversing a single-phase motor is a manageable task if you’re careful and methodical. Here are the most important things to remember:
- Safety First: Always disconnect the power before you do anything else. Verify it’s off with a meter.
- Identify Your Motor: Know whether you have a capacitor-start, PSC, or split-phase motor. This determines which wires to change.
- Reverse the Start Winding: The fundamental principle is to swap the two leads of the start (auxiliary) winding.
- Use the Diagram: Your motor’s wiring diagram is your most valuable tool. Follow it carefully.
- When in Doubt, Stop: If you’re not confident, or if something doesn’t look right, it’s always best to call a qualified electrician.
With a little patience and attention to detail, you can safely get your motor spinning in the right direction and get your project back on track.
References:
- National Electrical Code (NEC), NFPA 70
- Grainger, “How to Reverse an AC Motor”
- Various motor manufacturer technical documentation sheets.