What’s the Best Way to Prototype a Motor Core Before Investing in Tooling?
Before you spend a lot of money on tooling for a motor core, you should know the smartest way to test your design. This article shows easy-to-understand ways to prototype a motor core, explains the risks, and gives you proven steps to save money and headaches down the road. I’ll use my experience to help you make the right decision—one that will keep your team, your boss, and your wallet happy!
Table of Contents
- Digital Prototyping: Is Simulation Enough?
- Laser Cutting & Wire EDM: Real Steel, Real Fast
- Soft Magnetic Composites (SMC): Good for Complex 3D Cores?
- Additive Manufacturing (3D Printing): The Modern Choice
- Bridge Tooling: When Do You Need It?
Why Prototyping Motor Cores Matters
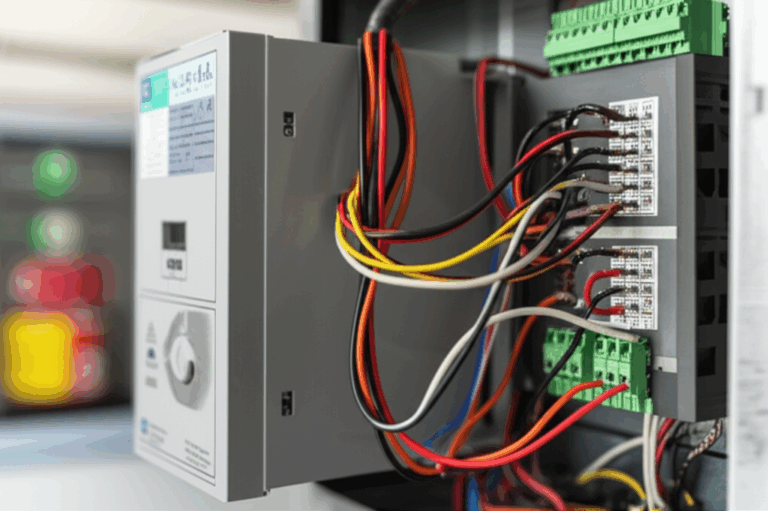
If you work with motors, you know that tooling isn’t cheap. Custom dies and molds can cost tens of thousands of dollars. Imagine spending all that money, only to find a design flaw after the fact. I’ve seen engineers learn this lesson the hard way, and the pain is real.
Prototyping helps you dodge this bullet. It lets you:
- Try out your motor core design.
- Test if it really works the way you want.
- Catch mistakes early.
Here’s a simple way to think about it: would you buy shoes without trying them on? Prototyping is like trying those shoes—you want to make sure they fit before buying the whole box!
Prototyping motor cores gives you peace of mind and helps you spot:
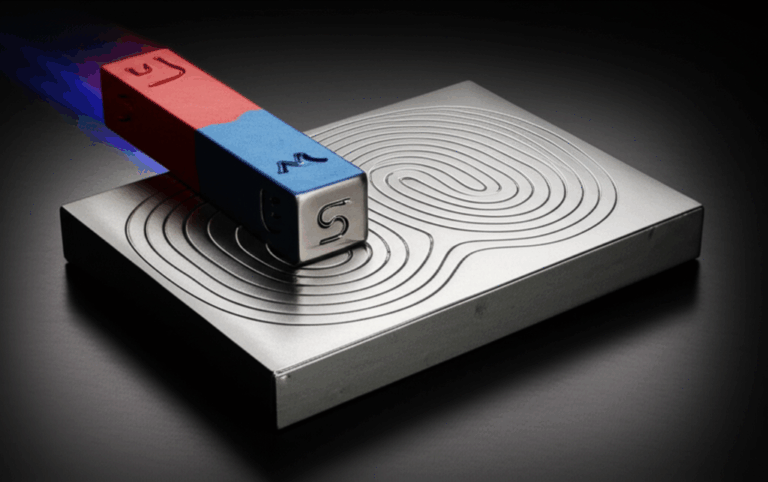
- Magnetic problems: Does your core steer the magnetic field well?
- Thermal issues: Does the core get too hot?
- Assembly goofs: Can you even put the parts together?
Companies that skip or rush prototyping often end up spending even more to fix problems after production starts. Trust me, it’s much safer (and cheaper) to test first, tool later.
What Should You Test in Your Motor Core Prototype?
Before you even choose how to make your prototype, know what you need to check. Not every test is the same. Some designs have special challenges, and your goals might be different too.
Here’s what you should consider:
- Magnetic Performance: Will your core focus the magnetic flux and make your motor strong and efficient?
- Thermal Management: Does it stay cool, or does it overheat in use?
- Mechanical Fit: Does everything fit together the way the blueprint says it should? Are all the holes and edges where you need them?
- Noise and Vibration (NVH): Is the core quiet, or does it buzz and shake?
- Assembly: Can you actually build it—even by hand?
- Material Properties: Are you using electrical steel, soft magnetic composites, or something else? Different materials behave differently.
Ask yourself, what’s MOST IMPORTANT about your motor? Maybe you’re building a very quiet motor for a medical device—or maybe your concern is raw power, like for an electric bike hub. You need to test for what matters to you.
What are the Main Prototyping Methods?
Don’t let all the technical buzzwords scare you. There are smart ways to make a motor core prototype. Here, I’ll walk you through each approach and help you match the right method to your needs.
Digital Prototyping: Is Simulation Enough?
Simulation uses computer programs like ANSYS Maxwell, JMAG, or COMSOL to make a “virtual motor.” You draw the part in CAD software, add material data (like for electrical steel or soft magnetic composites), and let the system calculate magnetic flux, core losses, and other features.
What’s Good:
- Super-fast to try out ideas.
- Cheap after you buy the software.
- Lets you test hundreds of options before making anything real. Imagine tweaking slots and shapes over your lunch break!
What’s Not So Good:
- It’s all on paper—you don’t get a real part.
- Doesn’t catch problems with material defects, tolerances, or actual assembly.
- Needs very accurate numbers for materials.
Use simulation when you want to check different designs quickly or spot obvious failures before you spend money on a physical prototype. But remember: it’s not a substitute for real-world testing!
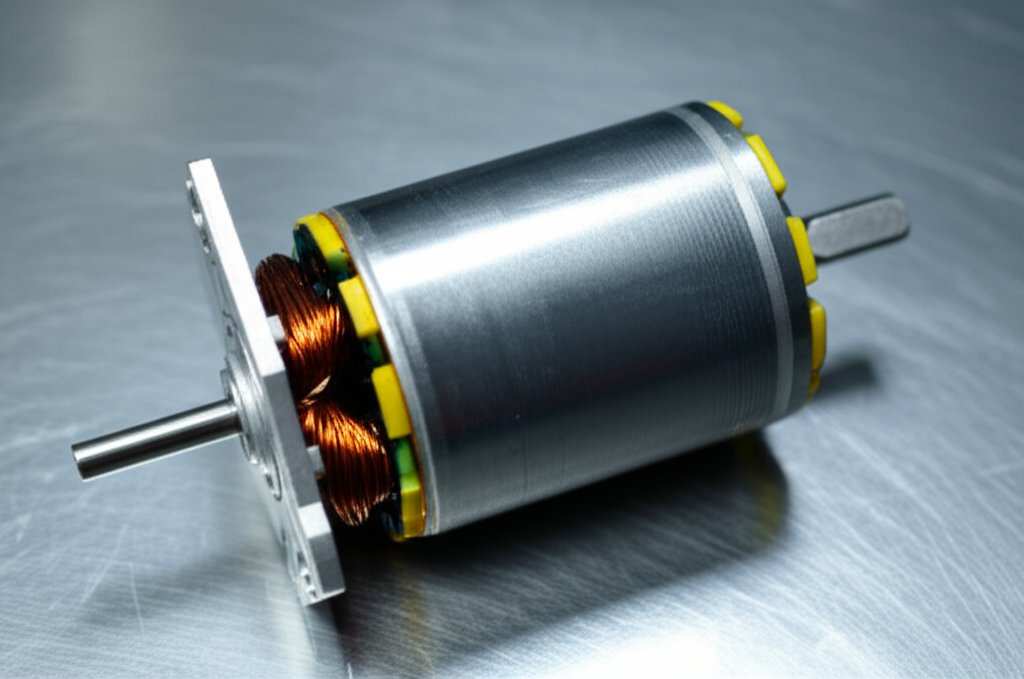
Laser Cutting & Wire EDM: Real Steel, Real Fast
Want a prototype with the real material you’ll use in production? Laser cutting and wire EDM can cut out flat electrical steel laminations with high precision. Then, you stack them up to make the core.
The Upside:
- Same type of electrical steel lamination as your real motor.
- Super accurate (down to tiny fractions of a millimeter).
- Great for complex shapes.
- Doesn’t require expensive tooling for small runs.
The Downside:
- If you need thousands? It gets slow and expensive—this isn’t production speed.
- Laser cutting might slightly change the steel near the edge (called heat-affected zone), which sometimes impacts magnetic properties.
Use this method when you need a real, testable core to check fit, magnetic properties, and assembly. It’s a smart middle step before spending on big stamping dies.
For more information on steel lamination, visit the motor core laminations resource.
Soft Magnetic Composites (SMC): Good for Complex 3D Cores?
SMCs are special materials: iron powder stuck together with insulation. This powder can be pressed into complex 3D shapes not easy with flat steel.
Strengths:
- 3D shapes. Want coils, claws, or strange twists? This is your friend.
- Good for high-frequency motors (like those used in electric cars) because it helps cut down on eddy current losses.
- You can sometimes make fewer pieces, which means fewer things to build and test.
Weaknesses:
- Magnetic properties aren’t the same as electrical steel (often a bit less powerful magnetically).
- Needs special tools—even for prototypes. That might mean some up-front cost.
Try this method if your motor needs a special 3D path for the magnetic field, or you care a lot about high-frequency performance—think fancy new BLDC stator core motors in electric vehicles.
Additive Manufacturing (3D Printing): The Modern Choice
Ever wanted to just print out a motor part? Today, with 3D printing (additive manufacturing), you can. This uses soft magnetic metal powders and special printers to build the part up, layer by layer.
Why It’s Cool:
- Amazing geometric freedom—make shapes impossible with cutting or stamping.
- No tooling needed, perfect for just a few or one-off pieces.
- Super fast for going from CAD drawing to real part.
What’s the Catch?
- Magnetic properties may need extra heat-treating to get right.
- Surface might need extra polishing.
- Parts can be expensive per piece.
- You need experts to dial in all the “print” settings.
I’d recommend 3D printing mainly for wild designs, secret prototypes, or when you just want to try something truly new—think R&D or aerospace.
Bridge Tooling: When Do You Need It?
Somewhere between “quick and dirty” prototyping and full-production stamping lies bridge tooling. This means you make a lower-cost, shorter-lasting tool to create a small batch of near-final parts.
Good Points:
- Parts almost identical to what you’ll mass-produce.
- Useful for assembly line testing, pilot runs, or customer demos.
- Catches late-stage problems before you commit to the “real” tool.
Not-So-Good Points:
- Still costs more than other prototype methods.
- Tools don’t last forever—only for hundreds or thousands of parts.
Use bridge tooling when you are almost sure about your design and need a last check under real-world conditions.
If you want to see how bridge tooling can help with motor development, check details about core lamination stacks.
How Do You Choose the Right Prototyping Method?
When picking your prototyping method, match the tool to the job. Ask yourself:
- What do you need to test most? Is magnetic strength key, or is it the ability to quickly change a design?
- How complex is your core shape? Simple round motor, or wild 3D geometry?
- How many do you need? Just one, a handful, or a test batch of a hundred?
- What’s your budget? Some methods are cheap for small numbers, but costs can explode if you scale up.
- How much time do you have? Need it tomorrow? Next month? Forever?
- What material do you need? Silicon steel? Electrical steel? SMC? Only some methods work with certain materials.
Here’s a handy table to help you decide:
| Method | Best for | Speed | Cost (per piece/small batch) | Accuracy vs Production | Material Limitations |
|---|---|---|---|---|---|
| Digital Simulation/FEA | Early design checks | Fast | Low | Theoretical | None |
| Laser Cutting/Wire EDM | Real steel, small runs | Medium | Medium | Very High | Flat parts |
| SMC Pressing | Complex 3D, high frequency | Medium | Medium-High | High | SMCs only |
| 3D Printing | Complex, custom, fast | Fast | High | High (requires tweaking) | Special powders |
| Bridge Tooling | Near-final, short production | Slower | Medium-High | Very High | None (depends on tool) |
Choose the one that fits your project timeline, size, and testing needs.
Best Practices for Testing and Verifying Motor Core Prototypes
Alright, you’ve got your prototype—now what? Here’s how I make sure my prototypes offer the best results with no nasty surprises down the road.
1. Define Success Early
What must this prototype do for you to call it a winner? List out your success points, such as:
- Minimum magnetic flux density
- Maximum allowed temperature rise
- Pass/fail mechanical fit
2. Use a Multi-Stage Approach
It’s almost never smart to go straight from computer to full tooling. Consider going step by step:
- Start with digital simulation.
- Move to laser-cut laminations or 3D print for real material checks.
- Consider bridge tooling before mass production.
3. Test Everything, Not Just One Thing
Check:
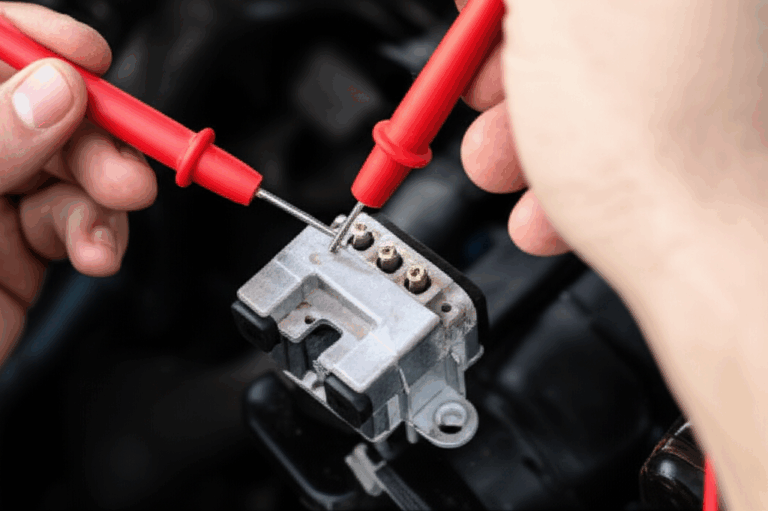
- Magnetic Properties: Using core loss testers or B-H curve analyzers.
- Thermal Performance: Run your prototype in real-world conditions and track temperature rise.
- Fit and Assembly: Does it slot perfectly with your stator and rotor?
- Noise and Vibration: Listen for humming, buzzing or shake.
4. Partner With Experts
Don’t reinvent the wheel. Reach out to companies that know about motor core laminations. They can spot problems before you do and cut down your learning curve.
5. Document Everything
Write down what you tried, what worked, what failed, and where you tweaked the design. This is gold for your next project—and keeps the boss happy when they want a report.
Real World Examples and Statistics
To drive this home, let me share what I’ve seen and what the facts say:
- Simulation First Cuts Waste: Studies show that just using digital prototyping can reduce the need for physical prototypes by 40%. That means less steel, less time, and less stress!
- Laser Cutting Saves 80% on Tooling in Early Stages: For volumes under 5,000 units, skipping full dies and going with laser cut laminations reduces up-front tooling cost by up to 80%.
- SMC Boosts Efficiency: High-frequency motors made with SMC (soft magnetic composite) prototypes often show 20% better efficiency than laminated cores in electric vehicle test cases.
- Bridge Tooling Lowers Manufacturing Risk: Real companies have saved $250,000 or more by catching a late-stage stamping error in bridge tooling, instead of remaking a full (and very costly) progressive die.
Frequently Asked Questions
Q: Can I skip prototyping if my design is simple?
A: No! Even simple motor cores can hide magnetic, thermal, or assembly issues. Prototyping is your insurance policy against surprises.
Q: Are 3D printed motor cores as good as stamped cores?
A: 3D printing lets you try wild shapes, but magnetic quality might need extra work. For best results, team up with experts who know motor material post-processing.
Q: Why do some people choose laser cutting over stamping?
A: Laser cutting is much cheaper and faster for prototypes or small runs. Stamping rules in mass production, but you don’t want to pay for a die until your design is perfect.
Q: Is it possible for one prototype to test everything?
A: Not always. Sometimes you’ll need a few different prototypes—one for fit, another for magnetic checks, and maybe a third for thermal or vibration tests.
Key Things to Remember
- Never skip prototyping. It saves you money and headaches in the end.
- Choose your method based on what you really need to test—magnetic, thermal, mechanical, and assembly.
- Digital simulation is great for first checks, but you still need real parts.
- Laser cutting and wire EDM work best for true-to-life test cores but aren’t for big production runs.
- SMCs make sense for complex or high-frequency designs.
- 3D printing is unbeatable for odd shapes or very quick prototypes.
- Bridge tooling is your friend when you’re almost ready to go full scale.
- Partner with experts and proven motor core lamination companies to get the job done right.
- Record your results and learnings for next time.
- The “best” prototype method is the one that answers your project’s big questions—there’s no one-size-fits-all answer.
Got a tricky motor core project? Don’t gamble with your money or reputation. Smart prototyping is always the best first step!